The hydration tube for my running vest was full of mould. It turns out the solution for a clean hydration tube is quick, easy and cheap. With a £5 tool you can ensure you have clean and safe drinking water for your running and exercise. Here we cover how to effortlessly clean a hydration tube.
Hydration Tubes
We all know how important hydration is when exercising. Whether running a 10k or an ultramarathon, or riding trails on your mountain bike, water is a lifeline.
Hydration solutions are increasingly popular as people tackle longer distances or need to carry more kit with them. Whilst you may see the odd handheld bottle at a local parkrun, when you start upping the distance hydration packs start becoming more common. For some events, particularly trail running, carrying water along with some key essentials is mandatory.
Whilst CamelBak may have invented the first running hydration solution many popular brands have followed. Saloman, Osprey and Inov8 all offer hydration packs.
The common theme for all of these solutions is a flexible bladder or reservoir along with a hydration tube. At the end of the tube is a bite value, squeeze this with your teeth and use like a straw.
The hydration pack is an excellent invention. Gone are the days of having to carry a pack with clunky water bottles or giving your biceps a full workout carrying by hand.
The big issue however is cleanliness. The bladders and even more so the hydration tubes can fill with dirt, grime and mould very easily. Not only can this make the water taste strange, but it can make you ill.
My Disgusting Hydration Tube Discovery
In yet another ‘this tastes weird’ moment 3 miles into a 15 mile run, I made a mental note to check the hydration system later. This time however I remembered when I got home!
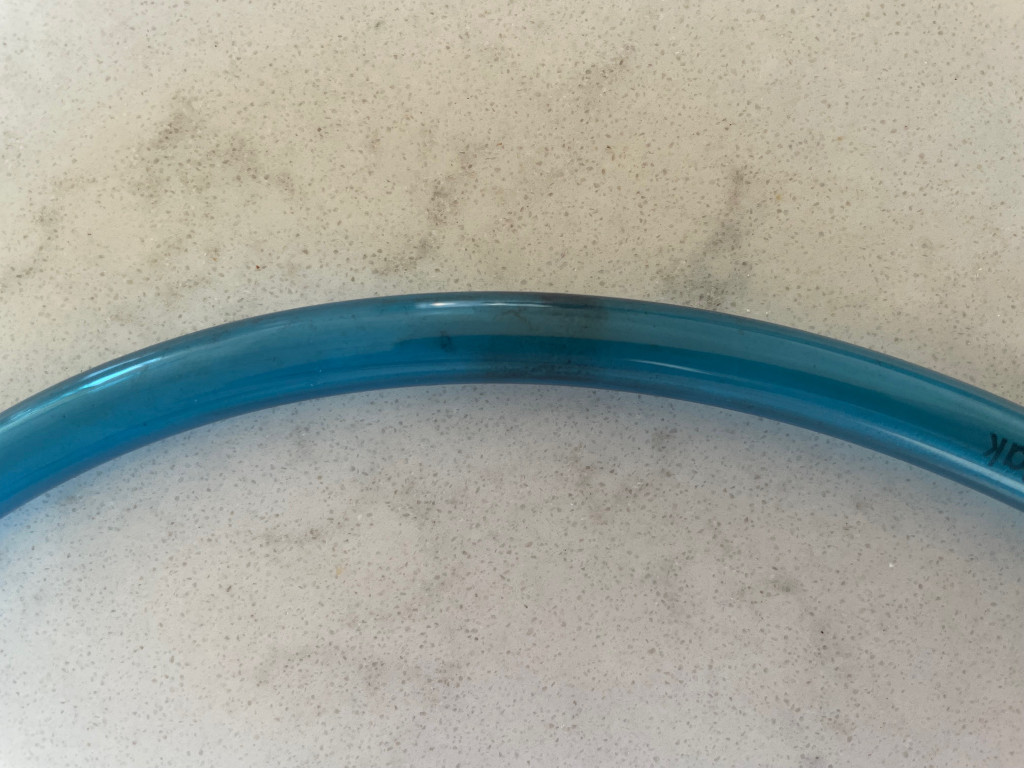
It took me mere seconds to realise just how disgusting my hydration tube was. I was shocked. The tube itself clearly had mould growing in it. I’d been drinking through this!
Likely made worse by my use of electrolyte tablets, something I use alongside salt tablets, I was surprised to see just how unpleasant this hydration tube was.
I regularly clean the hydration system, making sure to wash, rinse and dry out after every run. Clearly my efforts haven’t been all that successful. Imagine how mouldy the hydration tube would have been had I not taken these steps?
I felt a sense of surprise but also shame in discovering the mould. I didn’t think anyone would believe that I do actually clean the hydration tube every use!
Why Clean a Hydration Tube?
All your fluids will pass through a hydration tube. You wouldn’t use a dirty bottle so why use a dirty hydration system?
The hydration tube is a very difficult thing to clean effectively. It’s a small tight space which makes it very difficult to dry out properly. It’s all too easy to coil up the tube and stuff it in a bag for storage however if not properly dry this can be a breeding ground for mould and bacteria.
WaterFilterGuru published an article stating a reusable water bottle contained 40,000 times the bacteria you’d find on a toilet seat. Pretty grim, and I expect a hydration tube is even worse.
Many media outlets will publish sensationalist headlines about people being poisoned by not cleaning their water bottle. As deliberately headline grabbing as they may be, clearly it is not good to drink out of a mouldy bottle or through a mouldy hydration system.
How to Clean a Hydration Tube
It can be extremely challenging to clean a hydration system. Both the bladder or reservoir and hydration tube present unique challenges.
Clean Bladder or Reservoir
To clean the bladder or reservoir disconnect it from the other components of the hydration system until you are left with just the bladder itself. Cleaning should be done in warm soapy water. Use a sponge or soft brush to ensure you clean the sides properly.
Pay special attention to the exit point for the hydration tube as this is often an area mould and bacteria can grow. Use a soft brush or even an old toothbrush to ensure you get into the corners properly.
Make sure to rinse well with clean water to get rid of any remaining bubbles.
Once washed, hang up to dry properly. Some bladders will come with special hangers. Whilst fairly convenient I don’t think it’s worth purchasing one of these specially. Whilst you do want to ensure the sides are not touching each other to ensure proper drying, you can achieve this with a simple hack.
Simply bend the cleaned hydration tube into the top 3/4 of a figure of 8. Push this into the reservoir. Make sure the tube crosses over in the middle. This is important to ensure there are gaps for air and water to pass round the sides of the hydration tube. Make sure the sides of the bladder aren’t touching each other. Hang up to dry in a well ventilated room.
Clean The Hydration Tube
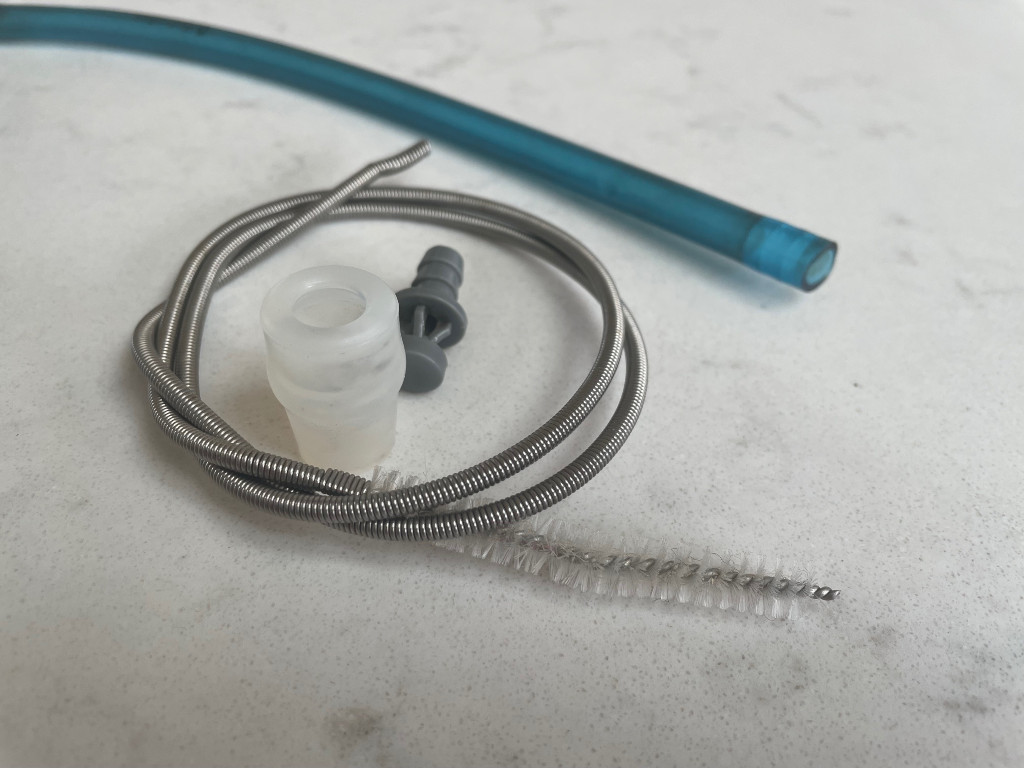
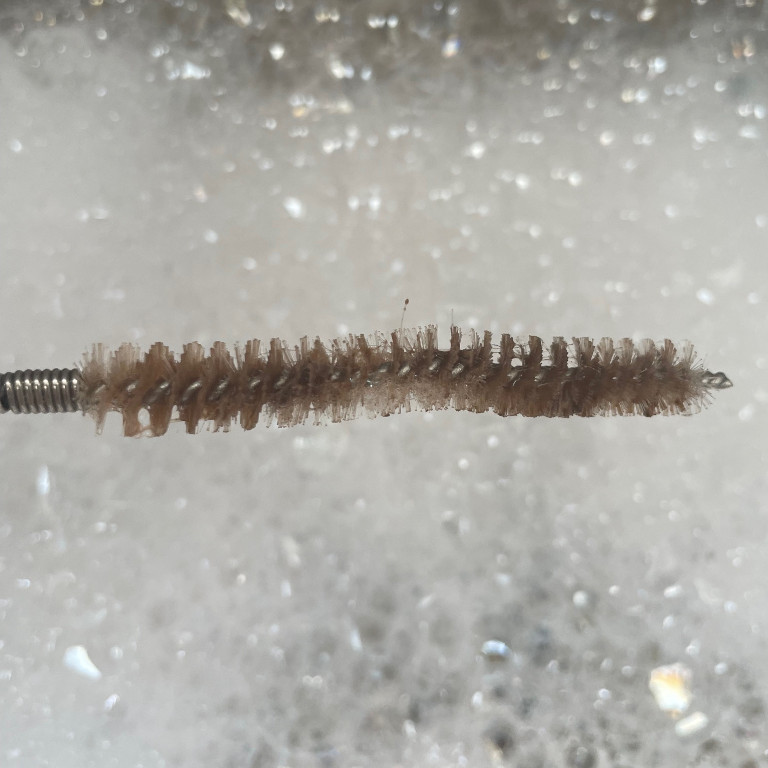
First purchase a narrow brush on a spring like this hydration tube cleaning brush from amazon. Some of the larger manufacturers offer branded equivalents but you really don’t need to spend more for such a simple tool.
Remove any attachments such as the bite value and connection to the bladder from your hydration tube. Once this is done, place the tube in warm soapy water. Before you start make sure the spring on the brush is longer than the tube itself – you don’t want to get the brush stuck! Gently pass the brush through the tube in one direction. Then clean the brush and repeat until the brush passes through in both directions without getting dirty.
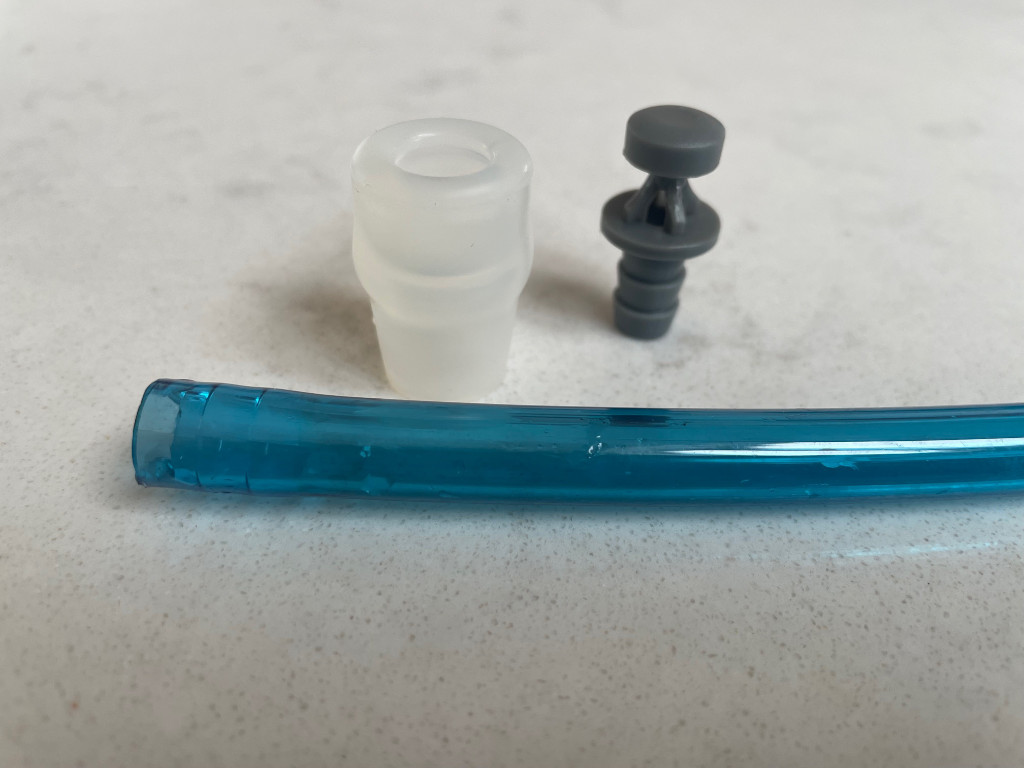
Rinse the tube with clean water and then leave to dry, ensuring any remaining water is free to drip out of the ends. If hanging up by the middle of the tube, change the hanging point every half a day or so until completely dry. This will help ensure no moisture builds up on the hanging point.
Remove Taste From Hydration System
Often a new the hydration system exhibits a plastic taste and aroma. Similarly, even a good clean may not get rid of the taste of stale water or electrolytes if left a little bit too long.
Even if you know your hydration system is clean, the strange taste can be off putting and may mean you don’t drink enough.
To get rid of this taste you can use a simple hack with vinegar and baking soda. Very similar to removing battery corrosion from electronics, this approach should provide a deep clean and remove the bad taste.
Fill the bladder with water and add 3-4 tablespoons of vinegar (or the juice of a lemon). Slosh this around inside the bladder and then add 2 tablespoons of baking soda. This will fizz for a bit. Keep sloshing this around and once the fizzing has stopped let it sit for 20 mins.
Remove the solution and clean as you normally would ensuring you give the bladder a thorough rinse.
Alternatively denture cleaning tablets are reported to have a similar impact.
Preventing Mould in Your Hydration System
To prevent the build up of mould in your hydration system:
- Clean thoroughly after every use
- At the very least rinse through
- Leave to dry properly before storing
- Hang up in a well ventilated location
- Regularly inspect to check for signs of mould
- If there are signs of mould growth, clean targeting those areas
- Use appropriate tools to ensure a good clean
- A hydration tube cleaning brush is cheap to buy and easy to use. It’s a key component in how to clean a hydration tube
Some people also suggest storing your hydration system in the freezer. Whilst this makes sense as it will stop bacteria growth at these low temperatures, I can’t help but feel I have better uses for my freezer space and I’m keen not to have to remember to defrost my hydration system prior to a run! Can you imagine explaining to friends – ‘sorry I can’t make the run today, my hydration back is still defrosting’.
How to Clean a Hydration Tube: My Reflections
It has taken me far too long to work out how to clean a hydration tube. I’ve always done a pretty good job cleaning a reservoir or bladder but how disgusting the hydration tube had become surprised me.
I’ve simple never had the tools to clean a hydration tube before. The £5 purchase of a hydration tube cleaning brush has likely saved me more than double that as I was just going to purchase a replacement tube.
Now to clean a hydration tube all I do is pull off the bite valve, push the brush through and couple of times and go about the rest of the washing up. It takes longer to get the bite value off than clean the hydration tube!
I’m genuinely shocked at how effective this tool is. I’m going to use it regularly to clean by hydration tube and hopefully not suffer from unusual tasking and potentially hazardous water again. I usually wouldn’t recommend a ‘one use’ gadget but in this case I’ll make an exception!

