Corroded batteries can quickly render your electronics useless. If you stuff your electronics away in a draw for a few months or longer battery corrosion may take over. In this guide we show how to remove battery corrosion to get your gadgets back in working order.
Understanding Battery Corrosion
What is Battery Corrosion?
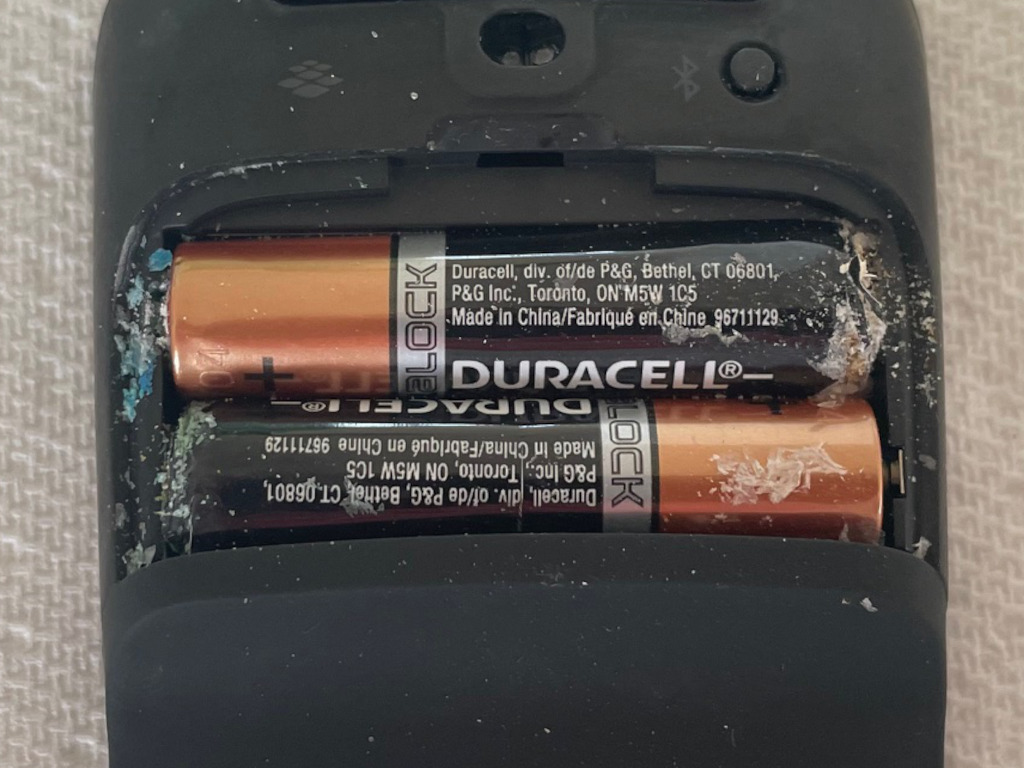
Battery corrosion is a sign a battery is failing. It will show up as a white or green substance at the ends of the battery terminals or contacts.
Batteries left over time will still continue to discharge. The build up of gases can seep out of the battery. This will be in the form of potassium hydroxide, commonly known as battery acid.
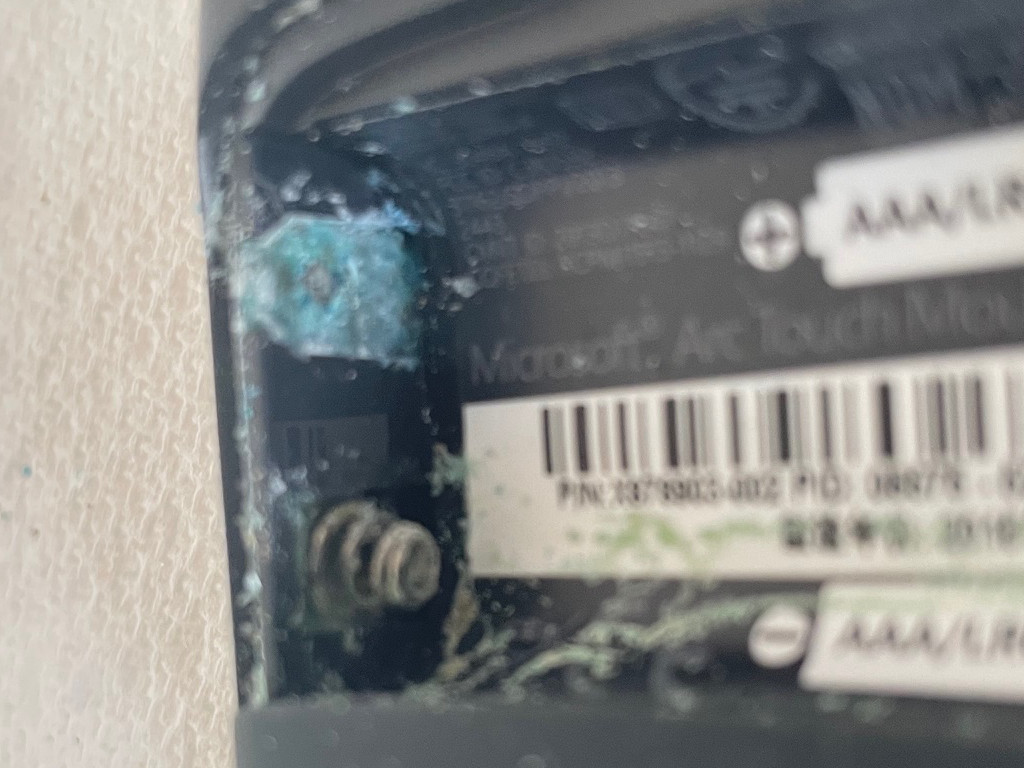
Once a battery starts to corrode it is no longer safe to use and must be replaced.
Why You Should Remove Battery Corrosion
Corrosion is not pleasant. It’s harmful to humans and causes many issues with electronics.
Not only does corrosion destroy the battery itself, which isn’t so bad as this is a replaceable part, battery corrosion will damage the electronics.
Battery corrosion is caustic. This means it will irritate or burn you skin or eyes. Damaged batteries can release gases, present a fire risk or even cause an explosion. For small electronics, the risks are small, however left unchecked corrosion will render your electronics inoperable and may cause a fire in the wrong circumstances.
You should always look to remove battery corrosion.
How To Remove Battery Corrosion
Thankfully it’s often possible to remove battery corrosion and restore electronics to their former state. If you catch the problem early enough, a good clean with rubbing alcohol may be all you need. If however the battery corrosion is more developed you may have to follow all of the following steps.
Preparation
Kit List
You’ll likely need the following kit to complete the battery corrosion removal process:
- Safety Gloves
- Safety Glasses
- Small Flat Screwdriver
- Cotton Buds
- Baking Soda
- Vinegar or Lemon Juice
- Rubbing Alcohol
- Toothbrush
- Small file
Safety Precautions
Battery acid is caustic. It’s an irritant and could burn you. Make sure not to get it in your eyes.
Whilst safety gloves and glasses may seem a bit extreme for a AA battery, it’s best to put them on just in case. The last think you want is to have to explain why you are in A&E when all you tried to do was get your TV remote working again!
Steps to Remove Battery Corrosion
Remove Battery
The first step is to remove the damaged batteries. Often you can remove them by hand, but for a particularly corroded battery you may find you need to use a small flat headed screwdriver to aid releasing the battery. If possible, avoid touching the contacts at either end and simply use the screwdriver to get under the side of the battery. The aim is to gently lift the battery out without piercing it.
Make sure to pop the damaged batteries in a small plastic bag and dispose according to your local council guidance.
Apply Baking Soda
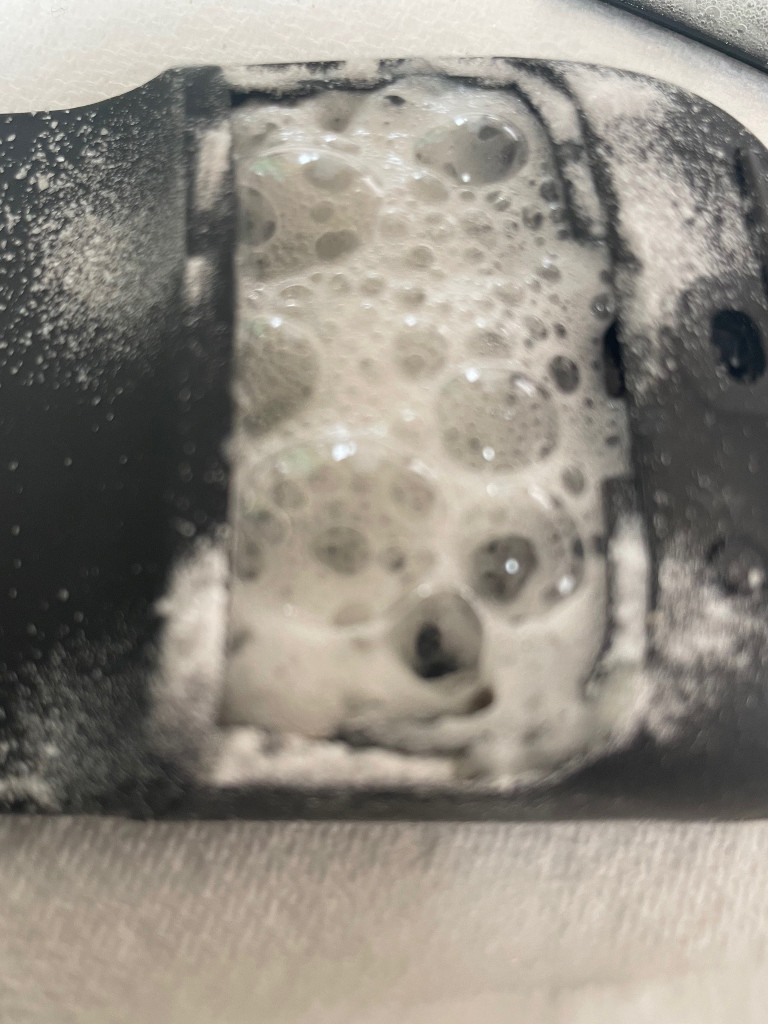
Take a small amount of baking soda and place on any corroded battery contacts.
Apply Vinegar
Apply a few drops of vinegar to the baking soda. This will fizz as the acid and alkaline react. If you don’t have vinegar feel free to use lemon juice.
Scrub
Use the old toothbrush to scrub the battery contacts with the vinegar and baking soda paste.
Rinse
Clean off the solution with water. Use cotton buds to help. Make sure to remove all of the residue.
Clean
You may have noticed that the vinegar and lemon juice may have left a bit of a strange smell on your device! To get rid of this and clean up properly you can simply use rubbing alcohol. Rubbing alcohol is great for cleaning and disinfecting, and evaporates quickly making it excellent for this task. Use a few drops on the end of a cotton bud to clean up any remaining residue from the vinegar and baking soda paste.
Dry Out
Leave the device to dry out completely before replacing the batteries and seeing if the device is working again.
Extra Tips
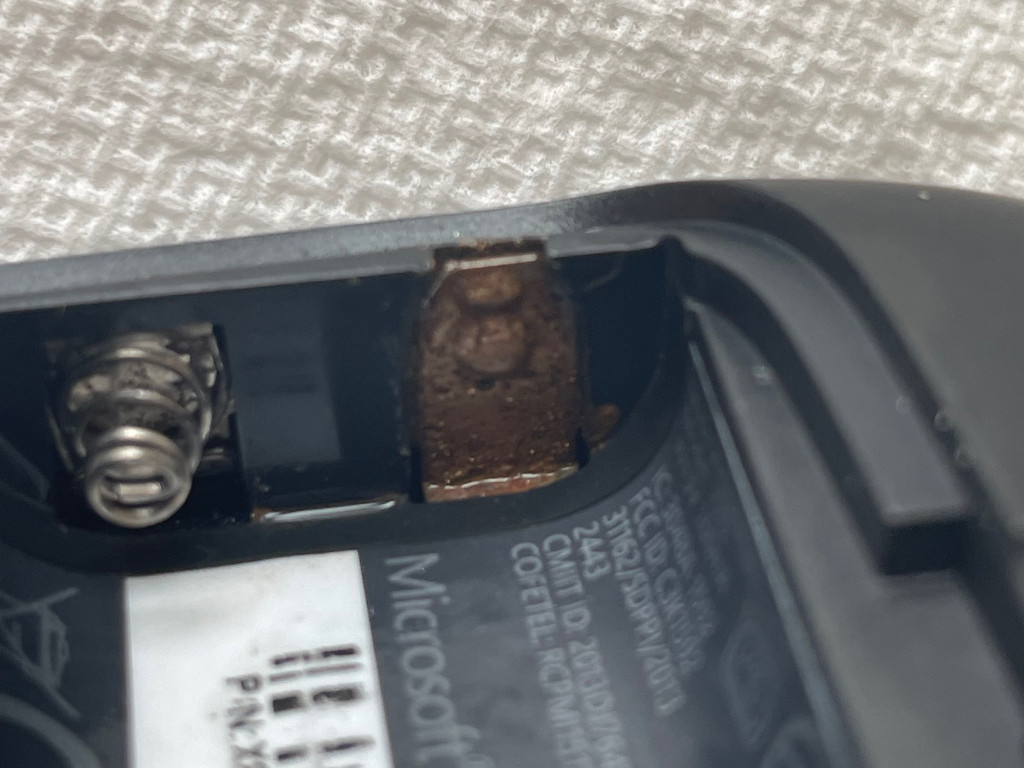
If the battery contacts are still a dull brown colour and if the device still isn’t working properly you may want to use a small file to remove the remaining corrosion. Gently file the contacts until you see the silver colour appear. Repeat the cleaning process with the rubbing alcohol.
Be careful not to scratch or take chunks out of the battery contacts as they are delicate.
Preventing Future Battery Corrosion
Battery corrosion is preventable however does require some effort.
Tips for preventing battery corrosion:
- Use high quality batteries
- You get what you pay for. Poor quality batteries will last longer and are less likely to corrode, or at lest will do so more slowly. That said, even branded batteries can corrode over time including my Duracell ones!
- Remove batteries from devices that won’t be used for prolonged periods
- This is a hard one to achieve in practice. If you know you are storing electronics for a reasonable time then pop the batteries out. Store the batteries with the electronics then pop them in a small plastic bag. If you are anything like me however you won’t know you are storing a gadget for the long run when you put it away so this may not always be practical!
- Store batteries in a cool, dry place
- Batteries don’t mix well with direct sunlight or water.
- Periodically check for signs of corrosion
- It’s best to catch any corrosion problems early before they become too much of an issue.
- Clean battery contacts regularly
- Regular cleaning will prevent build up of corrosion and keep your battery contacts clean.
Experiences Removing Battery Corrosion
I’m guilty of throwing electronics in a draw and forgetting about them, only to discover them again years later and find they are covered in battery corrosion. I expect I’m not alone in this.
Using this process I have been able to restore most electronics back to working order. A few, those left for 10+ years (we all have that box in the back of a cupboard right?) have been beyond repair.
I have had a regular problem with my Garmin 935 watch. It’s over 7 years old and has accompanied me on many a trail running adventure along with the odd triathlon. Every few months it fails to charge. This is down to a build up of sweat on the charging contacts which are close to the skin.
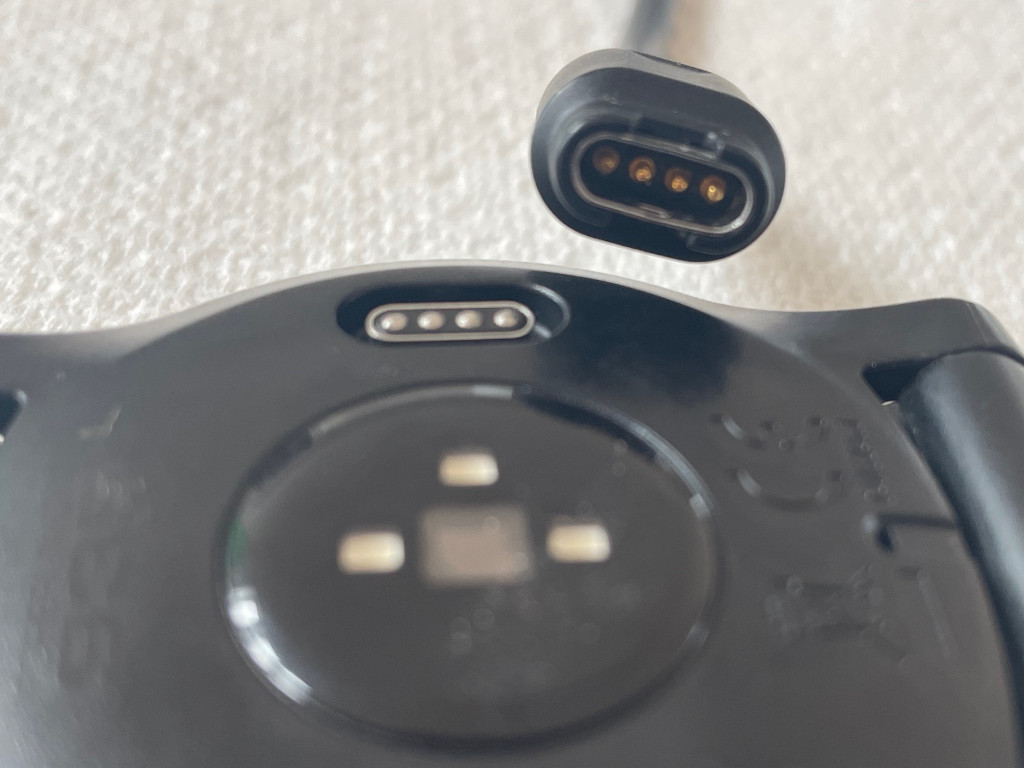
My solution to this is to dab both the watch contacts and the pins on the charging cable with a cotton bud covered in rubbing alcohol. I’ll then use a wooden cocktail stick to push each of the pins on the charing cable in and out, ensuring a smooth spring loaded action. Often I’ll find one pin is a little stubborn and once cleaned up my watch will charge fine again.
A bit of regular maintenance takes only a few minutes and saves frustration at broken gadgets, so I highly recommend investing in a bottle of rubbing alcohol, a few cotton buds and having a bit of an electronics cleaning session.

