In part 2 or my tree stump removal attempt, we cover the techniques I used to remove the stump by hand and the surprising WW2 find made along the way.
Background
In part 1 we covered the methods I could use to remove the tree stump. I’d cleared the area and managed to dig down around the stump to reveal the roots.
Whilst hard going so far, it felt like progress was being made in reasonable time. The soil itself wasn’t too tough to remove and the roots mostly large enough to manoeuvre around.
Surprise WW2 Find
After further digging my trowel clinked something metal. Fearing I’d found an underground pipe I carefully cleaned away some of the dirt to reveal a long rusty implement.
After a bit of dusting off it became clear it was some kind of sword or bayonet! I absolutely wasn’t expecting to find this around the roots of a tree!
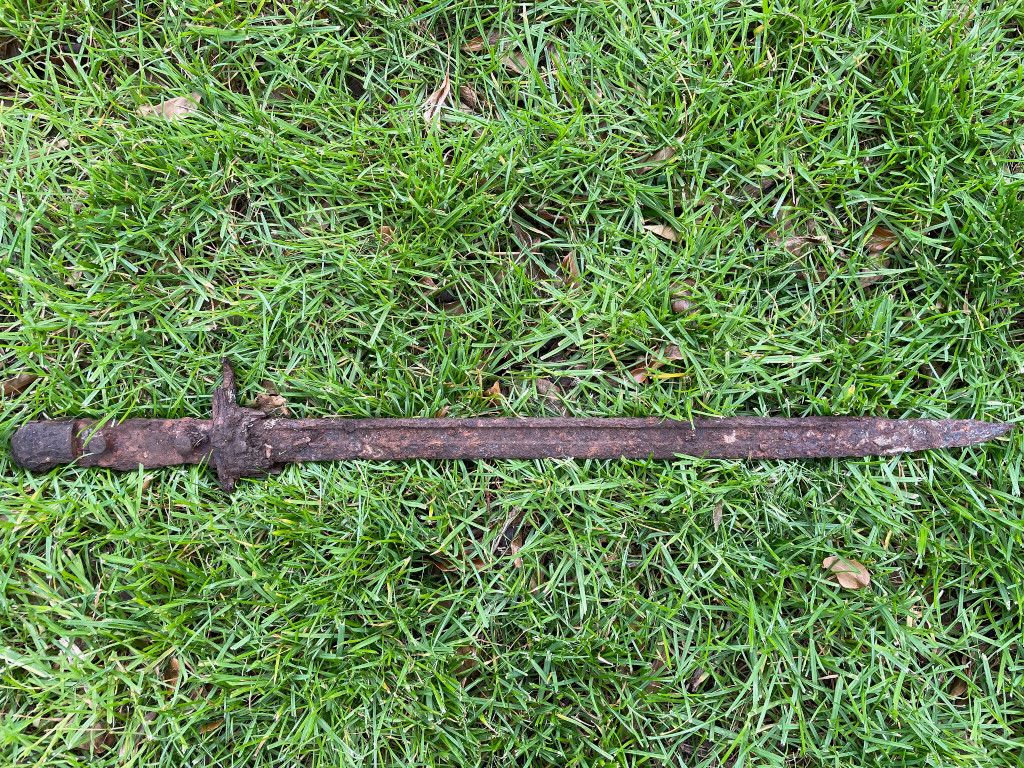
After a bit of measuring and some googling it looks like a Pattern 1907 Bayonet. Whilst this clearly wasn’t the archeological find of the contrary it did made for a fun story and the bayonet will shortly be on display int he local village hall – apparently the British Museum weren’t interested!
Tree Stump Removal: Tips & Progress
Once I’d uncovered some of the large roots sprawling out to the sides of the stump I looked to remove them.
Using a pruning saw, I cut away a section of each root, approximately a foot in length. I then attempted to pull the roots to see if I could get more of them out of the ground. Some roots pulled out of the soil easily, others needed some coercing with the pick axe to help loosen the soil further.
Once large sections of the main roots had been removed, I was able to get a spade into the gap between the tree stump and the edge of the hold I’d dug. This really sped up the process of removing loose soil letting me dig deeper, faster.
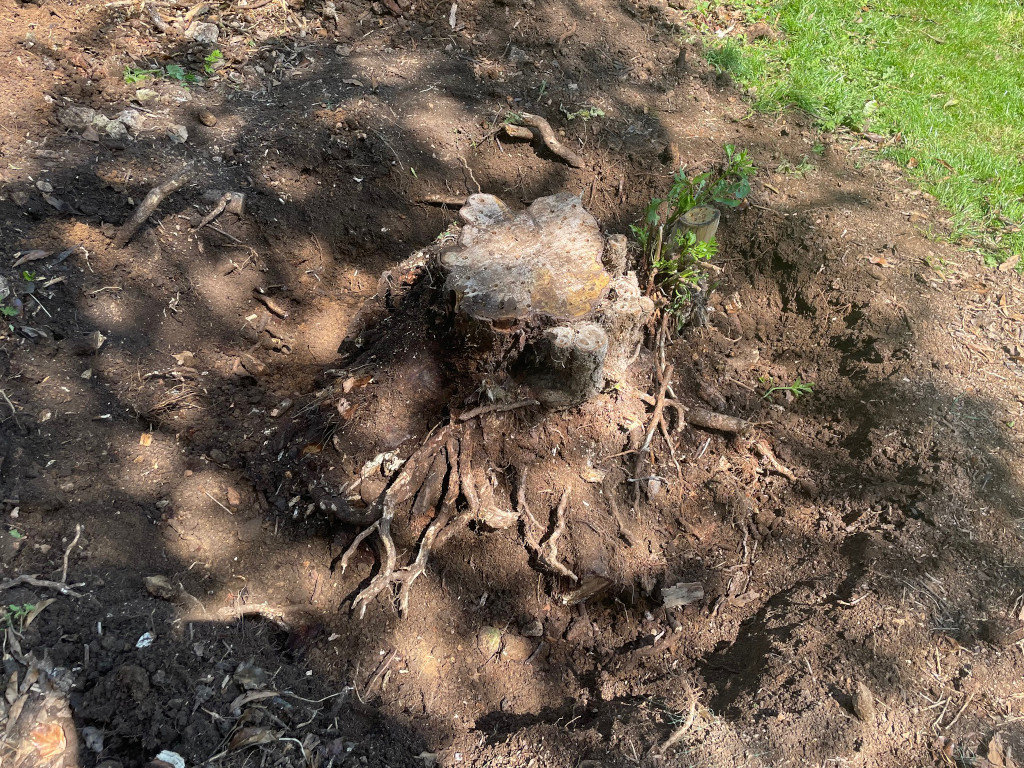
Thinner roots I cut away using loppers or secateurs. Pulling on the ends of the roots was often met with the root pulling cleanly out of the ground. I was keen to ensure I wasn’t leaving too many roots as I wanted to plant new trees in future.
Using the pick axe I was able to quickly loosen soul around the sides of the tree stump. The further down I got, the more roots I found. Many of these roots would break with a good swing of the axe, and I’d remove the chunks or wood by hand.
Firm, aggressive swings of the axe served me well.
Tree Stump Removal: My Success
After a couple of hours of digging deeper the stump seemed to taper inwards.
Using the pick axe to cut under the stump, the stump slowly came loose. With each swing of the axe I could see the stump moving further. A few more swings and a little more clearing of soil with the spade and the stump was free!
At this point I thought I’d won, except the stump was so heavy I couldn’t lift it.
With some effort I was able to roll the stump onto its side and then roll it out of the hole. Success.
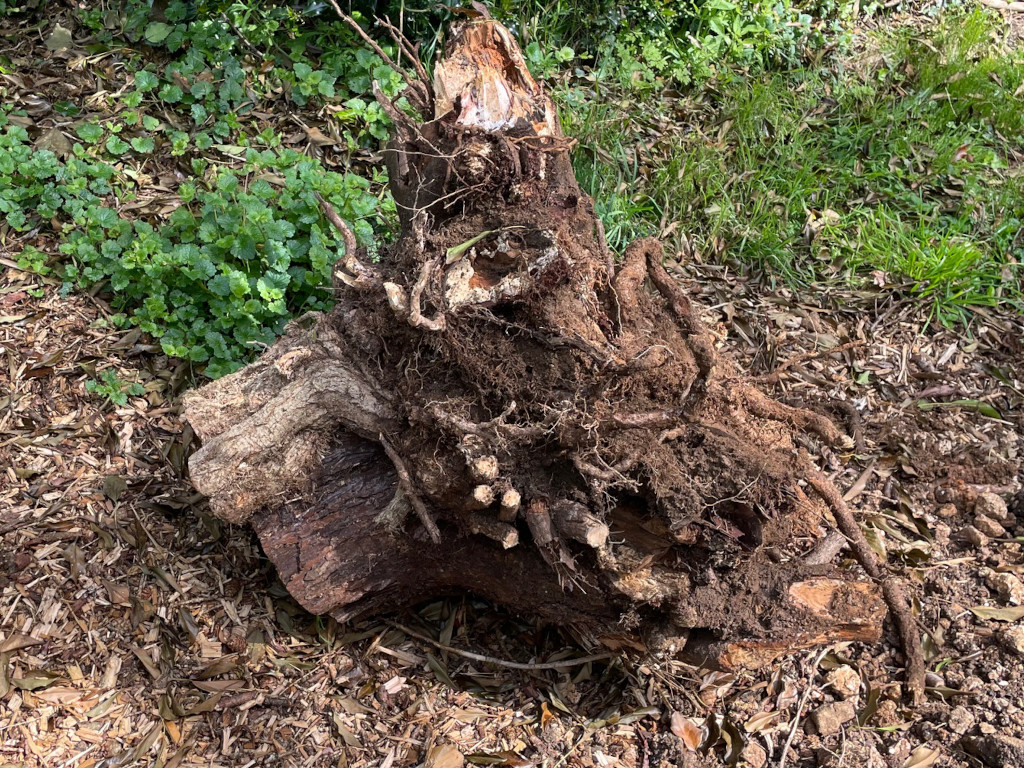
Using the spade I was quickly able to fill the hole back in – albeit having removed such a large stump there is a bit of a dip in the ground. My plan it to fill this back in properly when I plant some smaller trees nearby in the autumn.
For the stump, I will use a box saw to cut it into more manageable chunks and take it to the local refuse centre, being careful not to overload my car in the process. I expect the stump would take the car close to the weight limit for the suspension.
Reflections
Removing a tree tump by hand is hard work, however it was much more manageable that I had imagined.
Fortunately I had a couple of things working in my favour. The original tree was dead and hence some of the roots further down were starting to rot. This meant breaking them with a pick axe significantly easier. The good soil condition also aided my efforts. I imagine if the soil, particularly further down was more like clay it would have been a rough ride.
In total I spent approximately 3 hours over the space of 2-3 weeks on my tree stump removal quest. I found short energetic bursts the best way to make progress.
If you are fit and healthy and are prepared to commit some effort then I think removing tree stumps by hand is a practical solution. Give it a go and see if you make a surprise find like I did!

