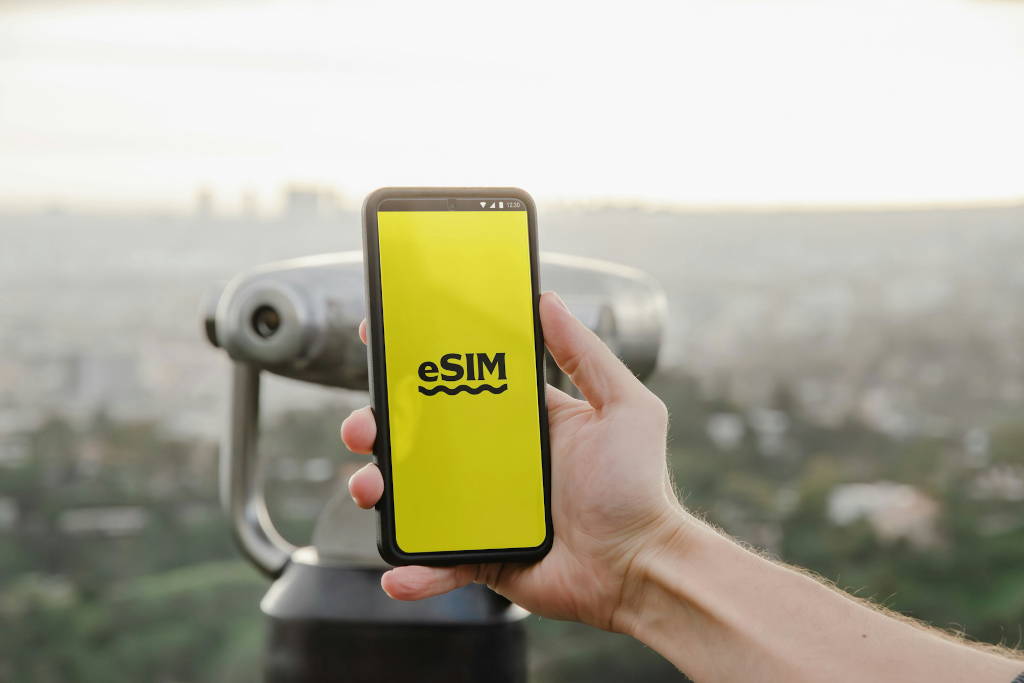
With an upcoming trip to Cananda on the horizon, I wanted to find a cheap way to remain connected – would eSIM technology be the solution?
Why Stay Connected?
I don’t travel much outside of the UK, and certainly not often outside of Europe. As a result when I pick my mobile contract roaming costs aren’t a factor.
With a trip to Canada a few weeks away, I wondered how I would go about remaining connected. I don’t need to be communicating with family and friends every hour of the day, however in an unfamiliar city being able to get online would make life easier.
Yes, there are work arounds. Many hotels offer free WiFi, although watch out for those that charge extortionate fees. I could probably get away with this for many activities; downloading maps for offline use, booking museums etc in advance, but there will always be things that you need a short burst of connectivity for. Meeting friends for dinner but running late? Looking up the next train time? Showing your e-ticket for the museum because you thought you’d downloaded it but your mail app wants to connect to the server again!
Traditional Roaming
Most service providers will let you online and charge you per MB or to send an SMS (remember those?). The costs however are often extortionate and this does require you to have a SIM enabled for this use. Mine provider doesn’t allow any calls, texts or data unless you buy a separate bundle. These bundles are a cheaper way to get online from abroad but still aren’t cheap. My provider charges £15 for 2GB but crucially restricted to only 8 days. Many providers offer something similar. Value really depends on how much data you think you’ll use and how long you are away for.
As this both seemed like an unnecessary expense and a faff I looked at other options. One I’ve used in the past is a separate physical SIM card. Buy one once you land and as long as your phone is unlocked you can simply pop it in and crack on. Obviously you’ll have a different phone number but you can still use your favourite messaging apps as normal. This solution is far from perfect however.
Choice of SIM cards is often pretty variable. Whilst you can get one online before you head off to the airport, choice is often more limited buying from the UK, You also have to fiddle with tiny SIM cards in public places which is a recipe for disaster. If you’re anything like me, you’ll forget to take the magic tool to pop out the SIM card tray from your phone as well.
Whilst swapping SIM cards is a bit fiddly, you could always buy a dual SIM phone. This means you just have to pop the new SIM in and you can still receive calls and texts on your existing number. But my phone only supports one physical SIM. Enter eSIMs.
eSIM Technology
Most modern phones will support eSIMs. An eSIM is a digital SIM card. It works exactly like a physical SIM except it’s entirely digital. The selection is also pretty wide ranging. You can buy eSIMs for pretty much any country you can think of, for regions of the world or for the entire world. Prices vary and usually if you pick a specific country you’ll get a cheaper deal. There are quite a few big names in the eSIM community, but after reading some reviews I went for Nomad – they had good reviews and reasonably priced deals for Canada.
The buying process was pretty easy. I created an account, downloaded the app and bought a 30 day 3GB package for £10. There were other offers of 1GB for 7 days for £5, or 10GB for 30 days for £22.50. Nomad lets you pay in GBP which was a nice perk.
eSIM Setup and Activation
Setup was easy. Once I’d purchased, I was emailed docs to follow or you can use the in app guidance. It’s a fairly straightforward process. A note of caution, please follow the warnings about installing your eSIM but not activating it until you are ready to start the 7/30 day timer. I recommend only activating when you arrive in your destination country.
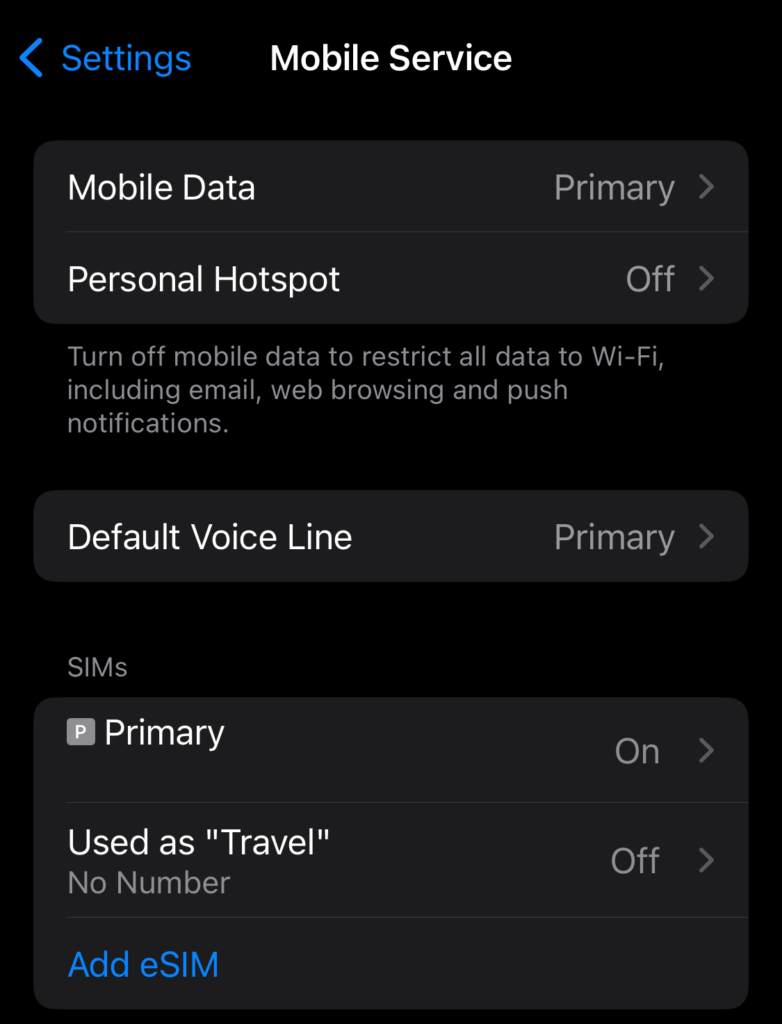
Once you’ve installed your eSIM, you can it listed under SIMs in Settings > Mobile Service (on iOS). You can also select which SIM you’ll use for mobile data, voice (although Nomad SIMs are data only only so I suggest you leave this as default) and SMS.
If you’re at all worried about accidentally using roaming data rather than your purchased SIM simply ensure your mobile data is turned off on your primary line. Before making any calls or sending any texts double check you are using your newly installed eSIM – it helps if you name it something obvious like ‘Travel’.
Nomad and eSIM Technology
Overall the experience was seamless, my phone connected before I’d got off the plane. I could keep track of my data use via the Nomad app and I was able to use my phone just like I would in the UK.
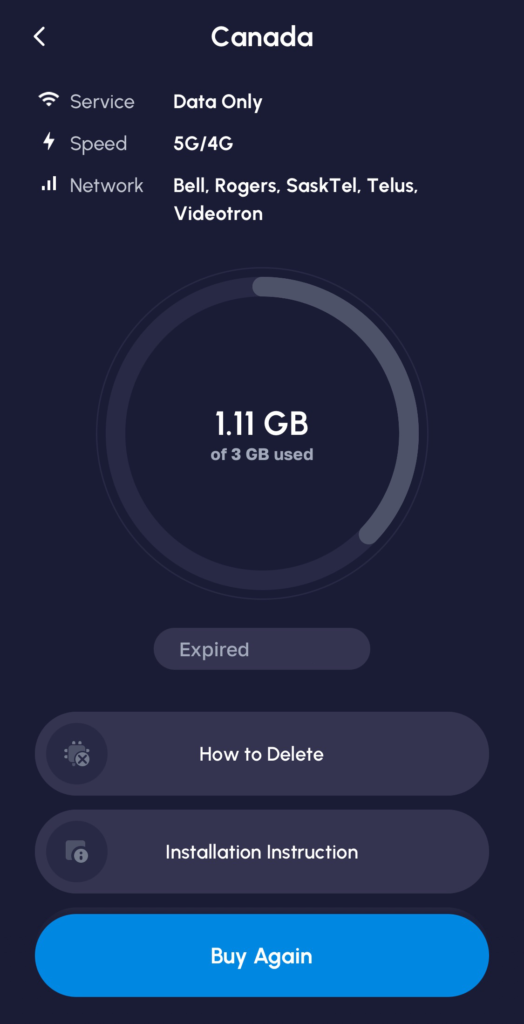
I’m sure there are other very capable eSIM providers, and the process is much more related to your phone itself rather than the provider. That said, Nomad offered competitive prices and a good experience for a first time user. Next time I travel, I’ll be looking at an eSIM from Nomad as a priority.
Do of course make sure your phone supports eSIM technology before you buy one though. If you have an iPhone 11 or later then you should be good to go.
If you want global connectivity at a reasonable price then eSIM technology is the way to go.

